
by Gordon Macdonald •
We all know that boats float, unless they are full of water, that is. Water can enter your boat in many different ways. Obviously if you forget to put your bungs in or they’re not tight enough water will pour or trickle in. During rough conditions, spray and even waves can splash over the side, especially in small tinnies that don’t have much freeboard.
Torrential or heavy rain can put enough water into your small boat to possibly stop it getting onto the plane, which can be annoying and even dangerous, especially if you are on an extended trip. A small leak from a crack in your tinny or the silicone perishing around your bungs could not only ruin your trip, it could cost you your boat or your life in the wrong situation. Having a bilge pump in your craft makes the exercise of getting water out as simple as flicking a switch.
I was cast netting for prawns earlier in the year when I realised I definitely needed a bilge pump in my 3.95m vee-nose tinny. The amount of water coming in with the net was surprising and one day, in combination with a heavy and sudden storm, water was lapping the false floor.
It was a slow trip back to the ramp to put it back on the trailer and drain the litres out. Had I not been able to get back to the ramp, the only other option would be to lift up the floor and bail the water out, which would have taken some time. I decided I needed to fit a bilge pump before my next trip. Let’s see how easy it is to install a bilge pump in the average tinny.
You will need a quality bilge pump of at least 250GPH (the author opted for 500GPH pump with 19mm outlet for faster drainage), two stainless steel hose clamps, around 1.5m of 3/4” spiral bilge hose, some fly screen (enough to cover the pump), a 19mm 90° skin fitting, enough wiring to go from the pump to your battery, two electrical wire joiners (or crimps and heat shrink), some hot-melt glue, an inline switch and a few large zippy ties.

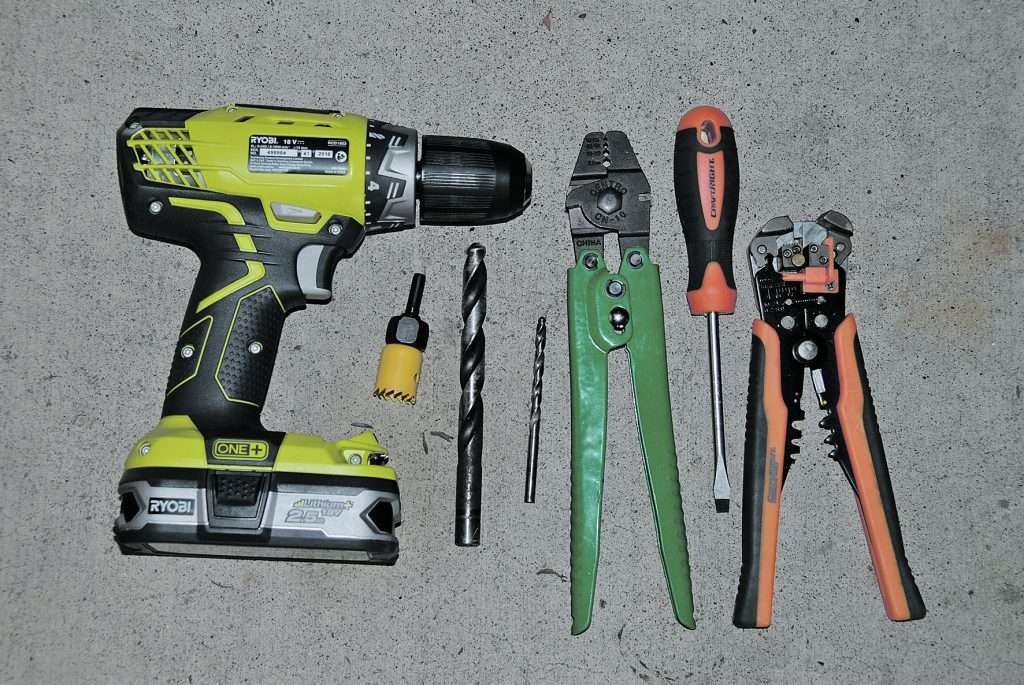
For tools, you will require a drill, a 12mm drill bit and a smaller 3-5mm bit, wire strippers (or a small knife to cut the coating off the wire cable), a medium sized flat blade screwdriver, a crimping tool and a lighter or heat gun. To cut the hole for your skin fitting (around 20mm depending on brand) you will need a hole saw attachment for your drill. These are relatively inexpensive, but you could also use a small drill bit to make multiple holes around the edge of your cut-out and then punch the piece out and clean up with a file).
The bilge pump needs to be at the rear of the tinnie, as this is generally the lowest point and where all the water will pool as you propel. Work out where you want your outlet to be. It’s generally at the transom or rear side just below the gunnel. Mark the spot where the hole needs to be cut with a marker.
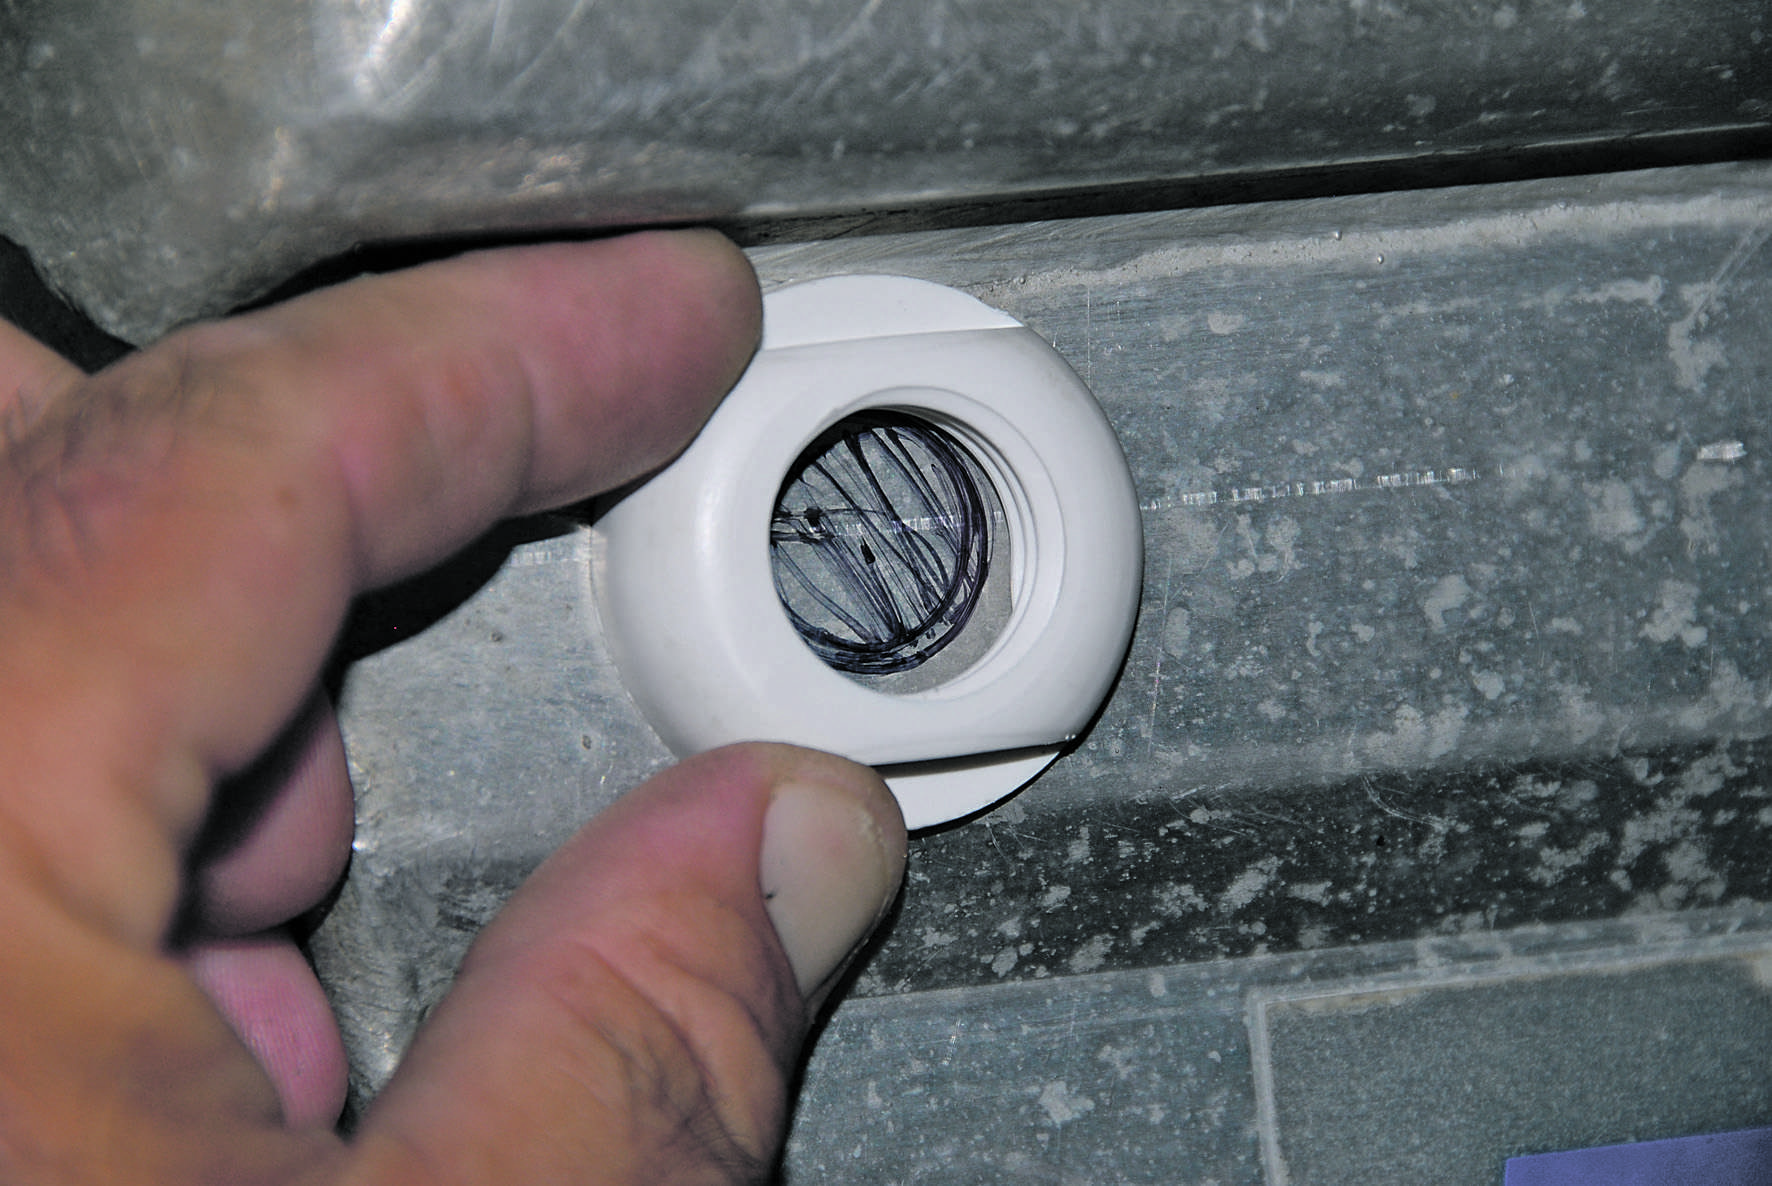
Put the hole saw attachment into your drill and then cut the hole for the skin fitting. You can clean up the edges of the hole with a file if you wish.

Attach your spiral bilge hose to the skin fitting and then secure with a stainless steel hose clamp.

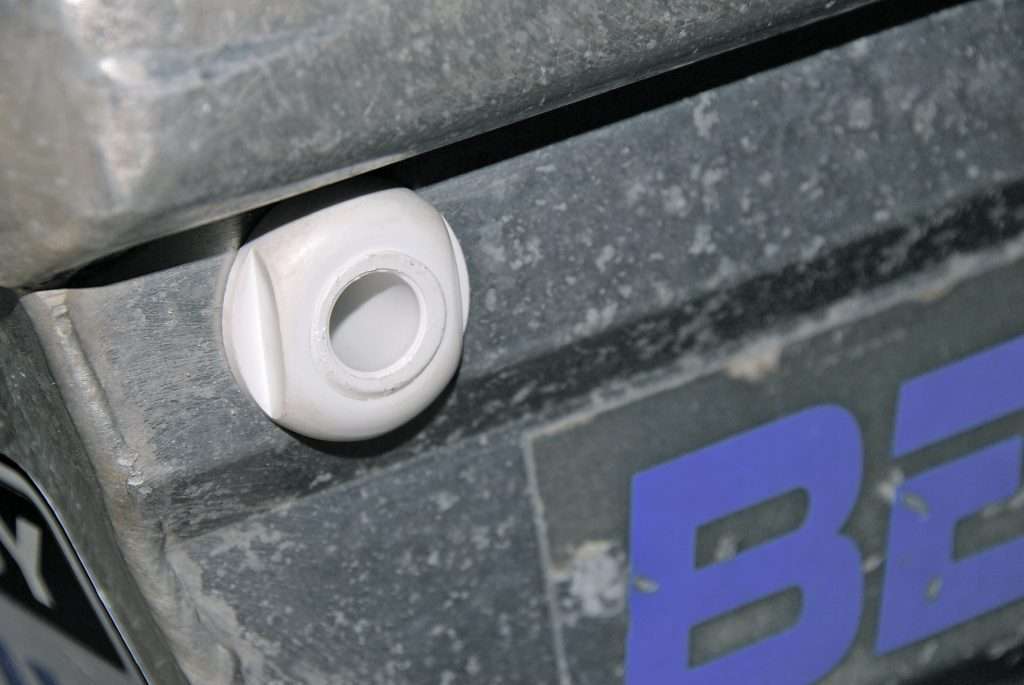
Put the skin fitting in the hole and then tighten the external nut. You can add silicone if you wish, but you might like to be able to remove the pipe easily in case there’s a blockage, so just tighten it if that’s the case.
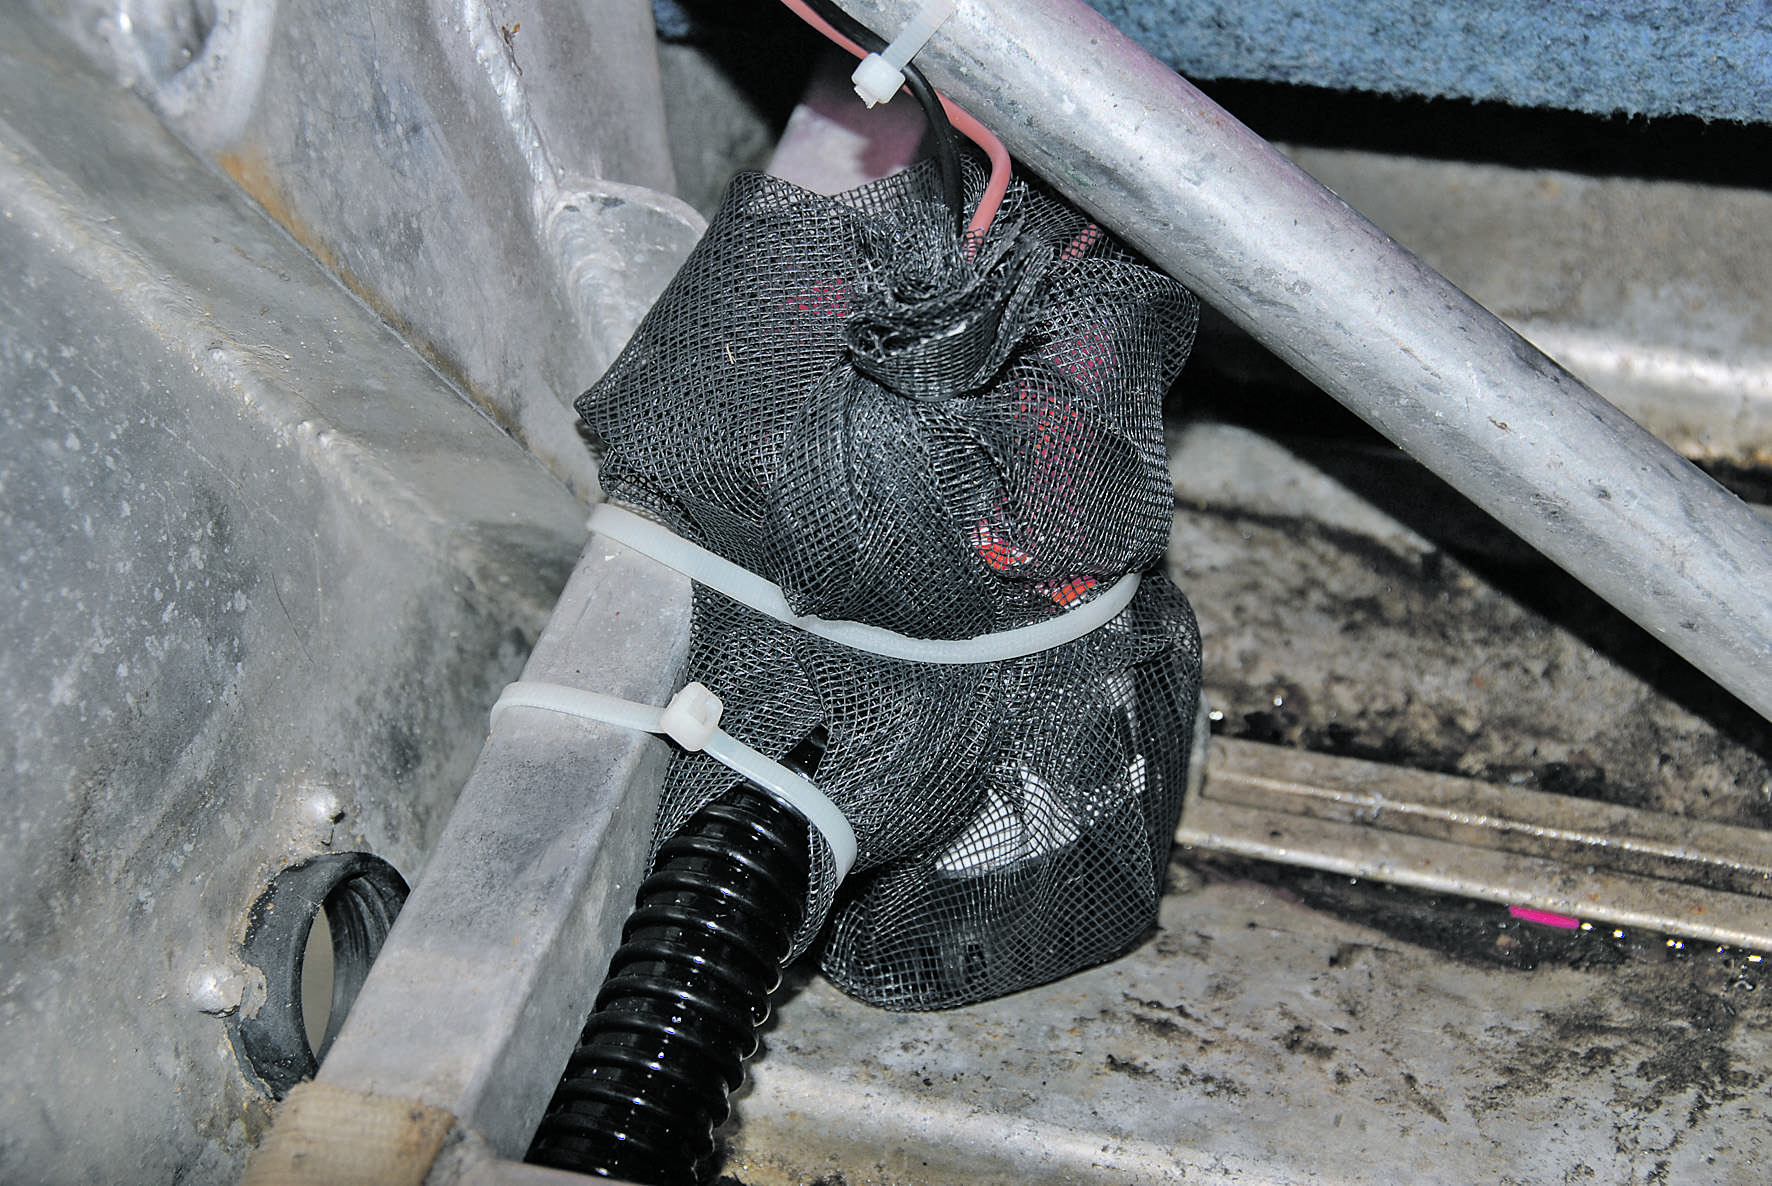
Run the pipe to the position of your bilge pump. This one fitted flush down the side and along the floor and was perfectly held in place by the support for the rear fuel rack.

Work out exactly where you want your bilge pump to sit (close to your bungs is good). Cut the bilge tube to length, slide your hose clamp on the tube, attach to the pump and then tighten the hose clamp.

Although not a requirement, covering the bilge pump with fly screen to stop debris getting into the pump is a brilliant plan. Braided line and fine monofilament offcuts are a particular problem and can wrap around the pump impellor, eventually seizing it and causing the pump to burn out. A bilge pump can catch fire, which is not good this close to the fuel tank. Secure the bilge pump in place with just the wires protruding out the top of the mesh. Zip ties work better than screws or bolts, as they allow you to easily remove the pump for cleaning if necessary.
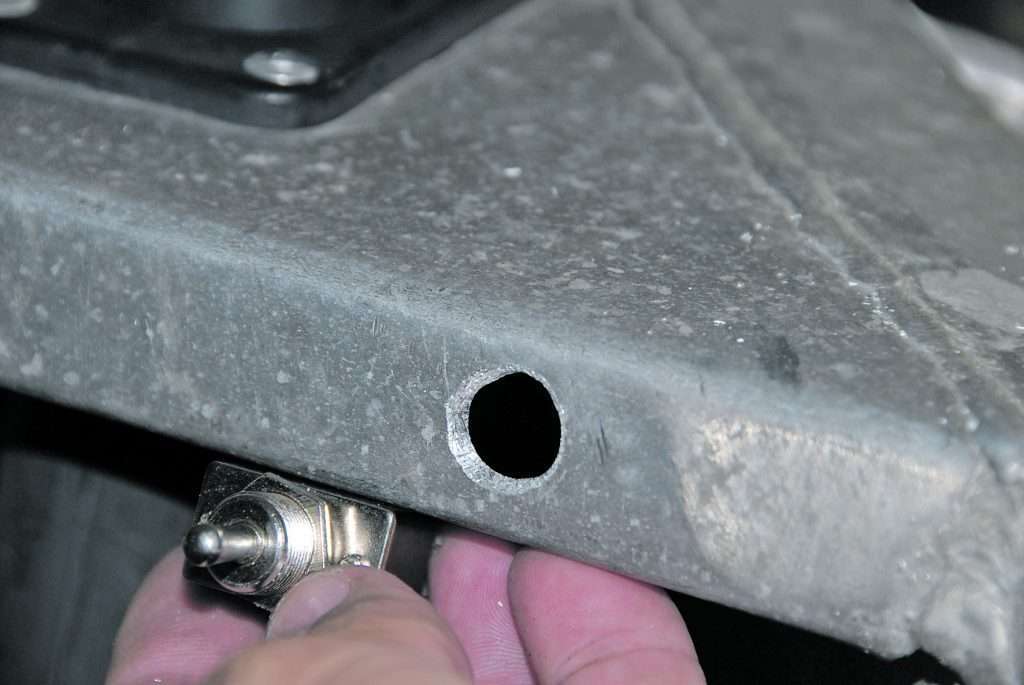
I chose a simple switch to install in a position reachable from the rear seat. Mounting for this will vary depending on the type of switch and the mounting position. This one is going on the transom corner plates. Drill a hole just big enough for the switch in the edge of the plate.
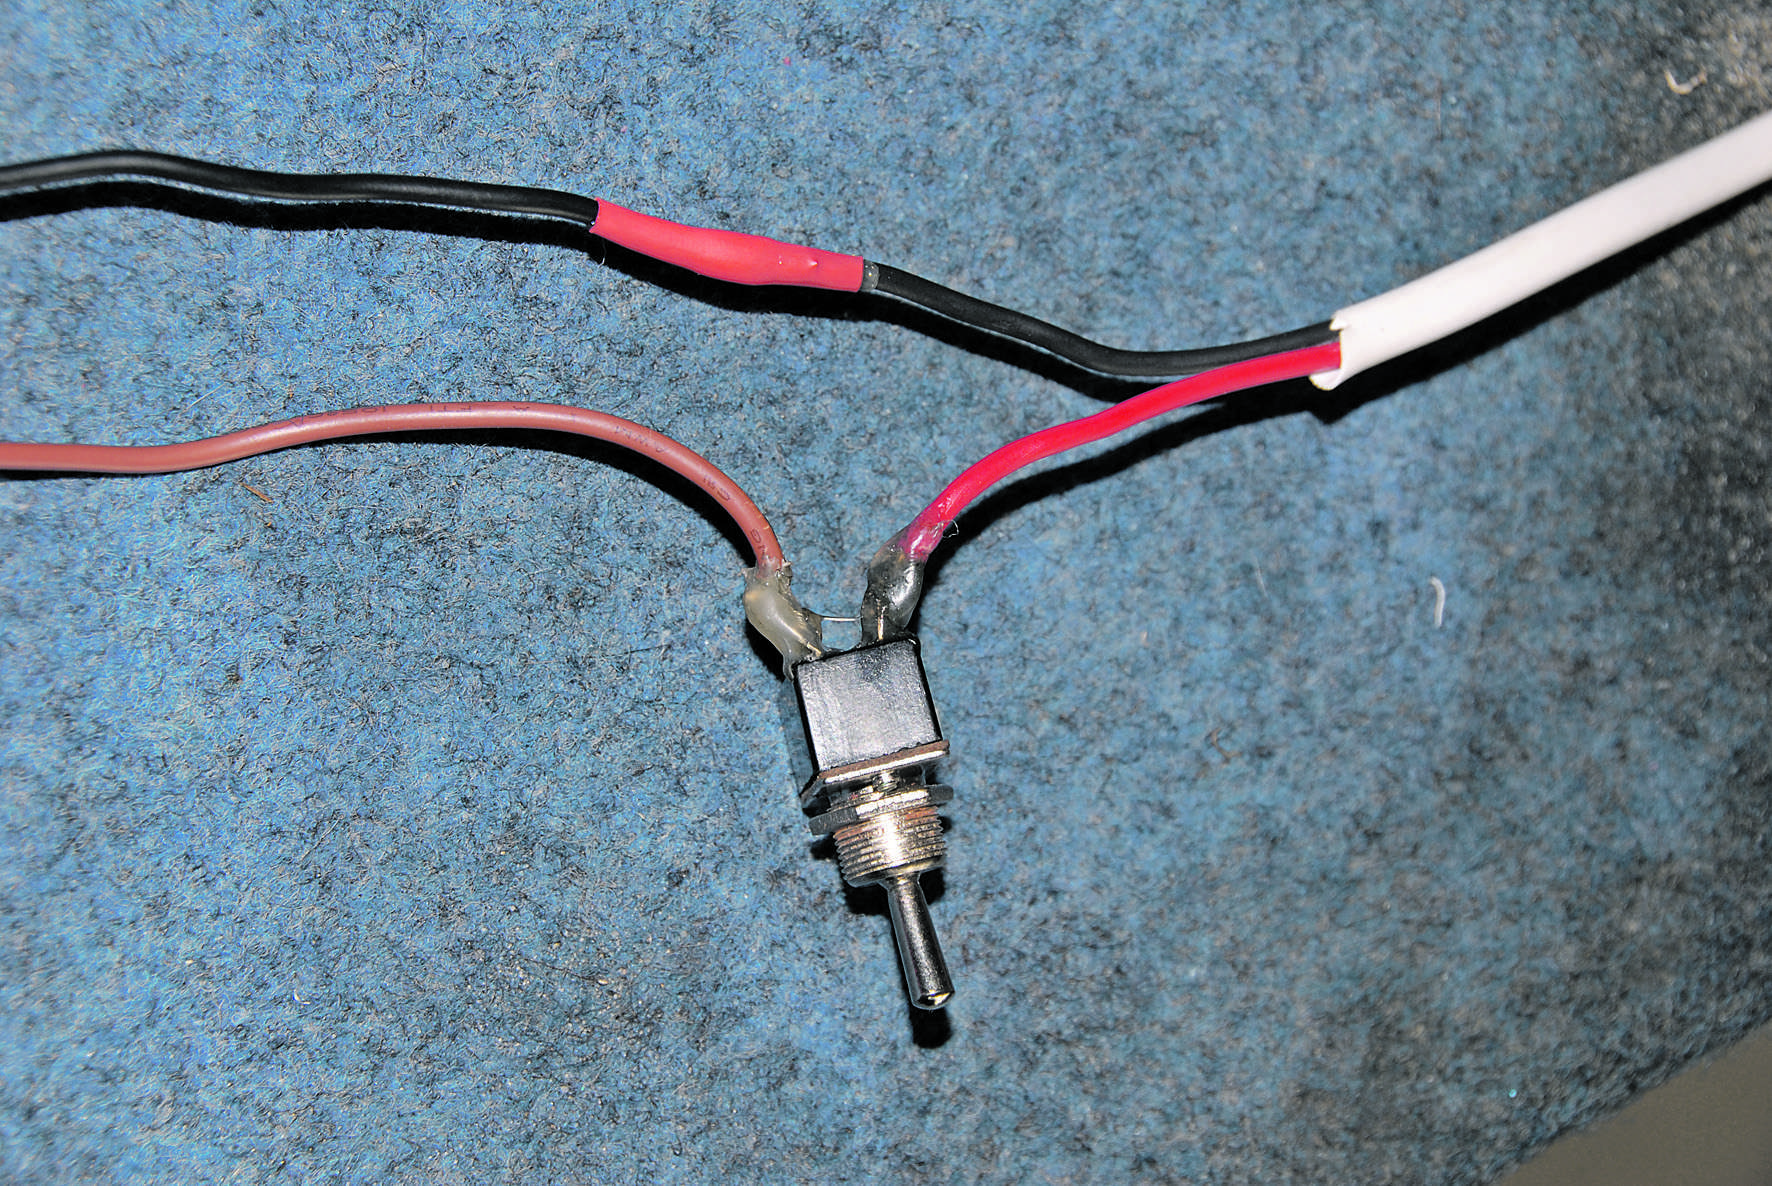
The switch goes in-line on the positive wire. Join the positive of the bilge pump wire to one terminal and the positive of the wire going to the battery to the other terminal on the switch. The negative of the switch wire and the negative of the battery wire are joined directly to each other with a wire joiner or with an aluminium crimp, hot melt glue and heat shrink. Hot melt glue around the joins of the terminals and positive wires will prevent corrosion and secure them in place.
Push the switch in from the rear of the hole and secure with the nut. Use zip ties secure the wire from the switch to the pump into a position where they will not be obtrusive. Run the wire from the switch to the battery and attach the negative and positive wires to the appropriate terminals. Note: the two small holes were already there and have nothing to do with this setup. Flick the switch to ensure that all is working, but don’t run your pump for more than a few seconds without water flowing through it, as you will eventually burn it out. Do periodic checks on the pump (when you are washing the boat and have some water in it) to ensure it is going to work when needed.


